The following are guidelines for running a Cadence/Spectre simulation in CMC CAD Compute Cluster.
What is CMC CAD Compute Cluster?
The CMC CAD Compute Cluster is a dedicated group of servers enabling researchers to improve the performance of large computational tasks. For a full description of the CMC Compute Cluster, go to https://www.cmc.ca/cad-compute-cluster/.
Creating a CAD Compute Cluster Instance
- Log in to https://vcad.cmc.ca using your CMC credentials.
- Click Create Instance, as shown in Figure 1.

Figure 1: Create Instance
- Connect to the instance.
For detailed instructions see, Getting Started with CMC CAD Compute Cluster – CMC Microsystems and Cadence Quick Start Guides.
- Open a Terminal (ssh) window and click the downloaded file, as shown in Figure 2.
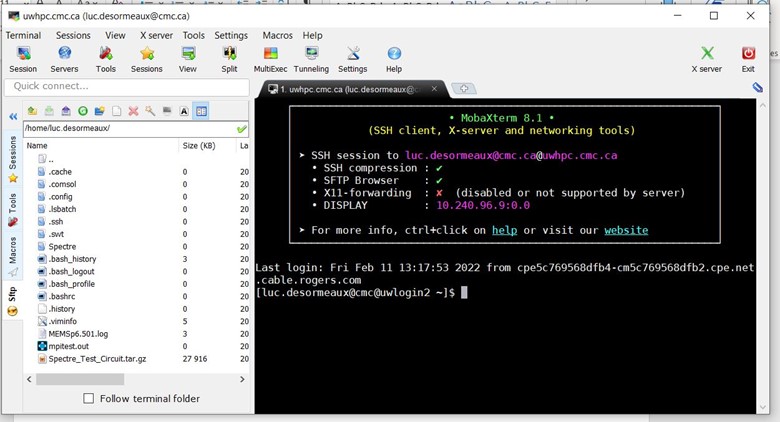
Figure 2: Open a Terminal Window
Transferring the Required Files to the Created Instance
There are different ways to transfer files to and from the cluster. General instructions are located here:
Uploading a Simulation File to the CAD Compute Cluster – CMC Microsystems
For example, you can use scp from your local PC to transfer your_design_file_name to your home directory on your cluster instance.
$ scp -P 223 your_design_file_name your_cmc_register_name@uwhpc.cmc.ca:~
Creating a Shell Script to Run Simulations
To run simulations, you need to create a shell script . You can use the following script to create a file called Spectre_shell.
| #!/bin/sh # embedded options to bsub – start with #BSUB # — Name of the job — #BSUB -J Spectre_example # — specify queue — #BSUB -q adept # — specify wall clock time to run as hh:mm — ## ## All commands preceded by ## are invisible to the LSF job scheduler. ## ##BSUB -W 04:00 # — specify the number of processors — #BSUB -n 32 # — specify the number of nodes — ##BSUB -R “span[hosts=5]” # — user e-mail address — ##BSUB -luc.desoremaux@cmc.ca # — mail notification — # — at start — ##BSUB -B # — at completion — ##BSUB -N # — Specify the output and error files. %J is the job ID — # — -o and -e mean append, -oo and-eo mean overwrite —#BSUB -oo Spectre_shell_%J.out #BSUB -eo Spectre_shell_%J.err# example of launching a Spectre simulation using an LSF job scheduler in batch mode spectre -V spectre -64 adc_netlist.scs +escchars +log ./adc/psf/spectre.out -format psfascii -raw ./adc/psf +lqtimeout 900 -maxw 5 -maxn 10 +logstatus |
Note: The last 2 lines need to be on one line
Loading the Spectre Module on to Your Cluster Instance
Use the following command to load Spectre on to your cluster instance:
$ module load cadence/spectre19.10.199
Preparing the Spectre Netlist
You need to provide a netlist which includes all the models referenced in the netlist (these models are usually inside a PDK). The netlist is prepared outside of the cluster, in the user Cadence environment, prior to transferring the netlist over to the cluster. You can generate a self contained netlist with the models included in the netlist.
Otherwise, you will need to recreate the entire directory tree that includes all of the PDK. This is more complex and very specific to each user. The self contained netlist is a simpler approach.
The Spectre netlist may require you to set up certain environment variables. For this example, the netlist needs to access certain transistor models from a certain foundry. Since the design kits for the foundry are not loaded, you need to redirect to the library location and copy those library models to the cluster.
Running the Shell Script
To submit a job to the cluster, run the following script:
$ bsub < ./spectre_shell
Job <14708> is submitted to queue <adept>.
Transferring the Output Files From the Instance for Post Processing
See Transfer the Required Files to the Created Instance.
Useful links
Click the following link to access other useful links:
CAD Compute Cluster – CMC Microsystems