This support note refers to the Optical Proximity Correction (OPC) module: How to start this module, and where to find help and examples for it. It briefly summarizes the steps to start the module. These steps apply to all the modules in the RET Flow Tool. The release shown in this document is the 2024.3 version.
How to Start the Resolution Enhancement Tools
Step 1: Open Siemens Calibre WORKbench from the CMC Microsystems STC disk at your home university, or in one of our virtual VCAD Linux accounts. For more information about these accounts, please see our Cloud Design Environment webpage.
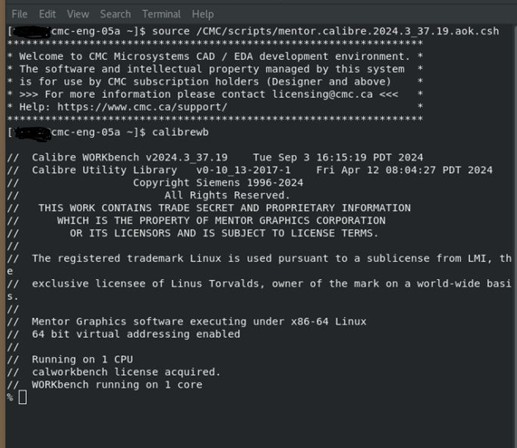
To begin, source a *.csh script file found under /CMC/scripts to declare the environment PATH and licence location for Calibre. Figure 1 shows how this is done inside a Linux terminal. Once you have done this, enter the following at a terminal prompt: calibrewb
Step 2: In WORKbench, open the window RET Flow Tool.
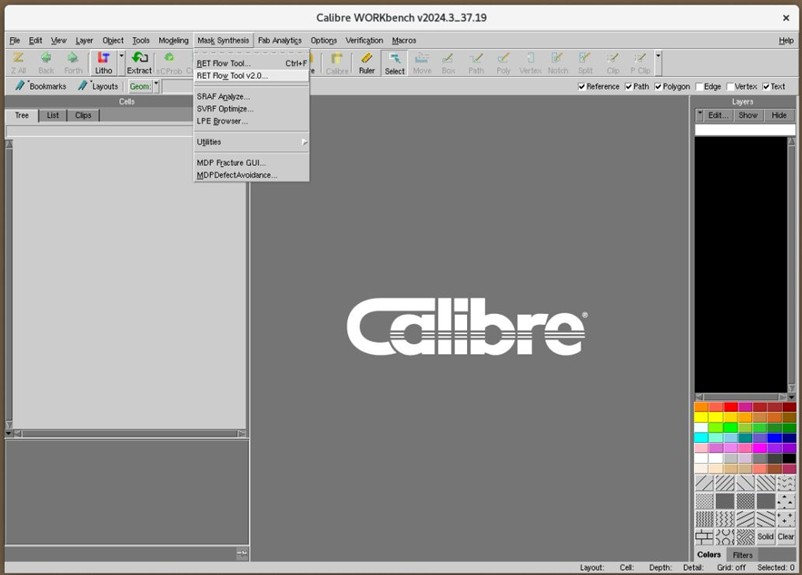
From the main menu, select Mask Synthesis | RET Flow Tool 2.0… (or RET Flow Tool…), as shown in Figure 2.
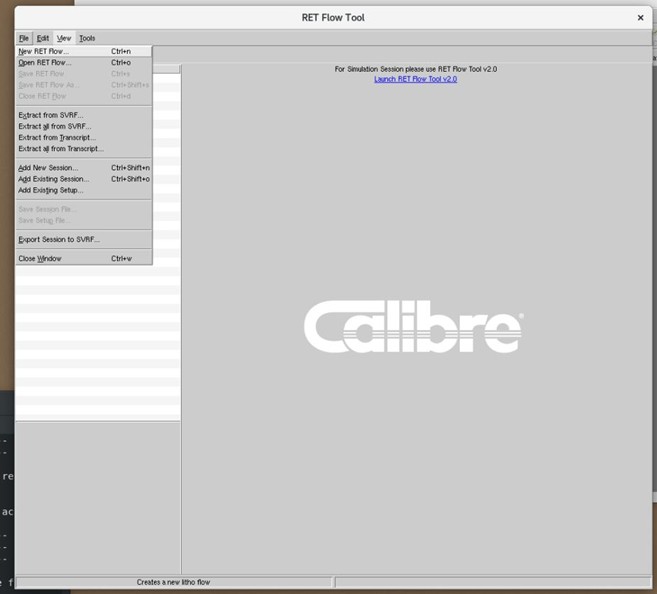
Step 3: Open a New RET Flow stream.
From the main menu, select File | New RET Flow…, as shown in Figure 3.
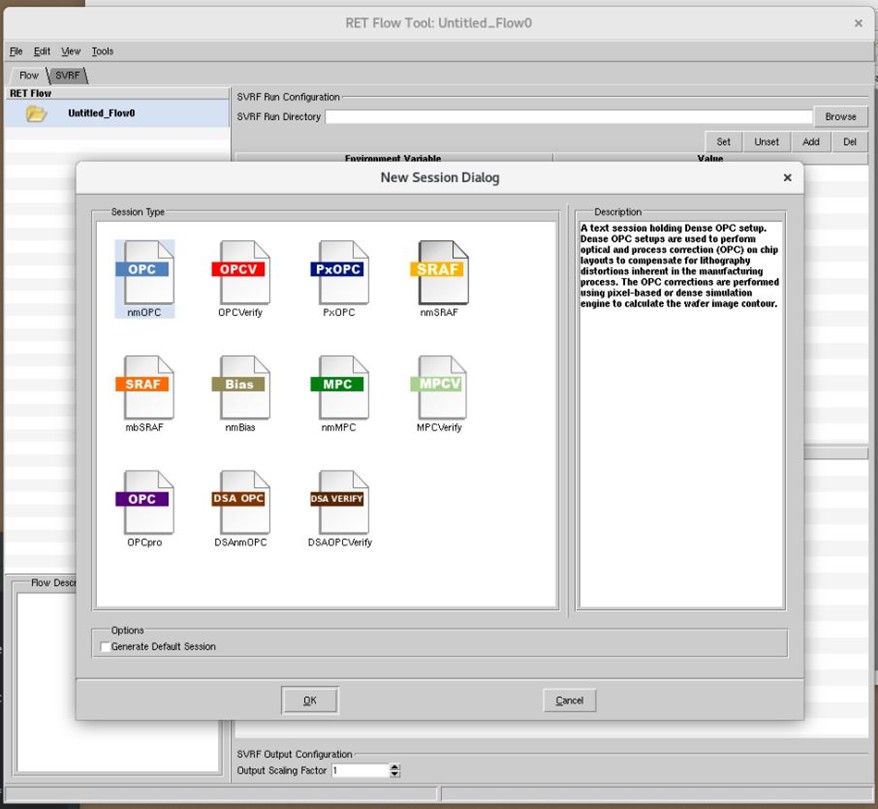
Step 4: Right-click on the box Untitled_Flow0 and add a new session, as shown in Figure 4.
Where to Find Examples and Help for the Resolution Enhancement Tools
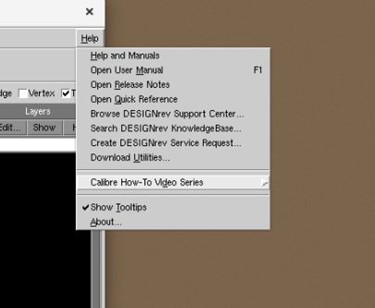
To find help and examples for the RET tools, look for the Calibre How-To Video Series, hosted on an external site. The videos can be found under the Help menu, as shown in Figure 5.
