System Requirements
- Windows 10 operating systems, 64-bit
Setting up CADpass client for Use with MEMS Pro
CADpass client is a CMC Microsystems’ license access client and is used by subscribers across Canada to connect to our secure license server(s).
- Follow the instructions in the quick start guide to download and install CADpass client.
- Start CADpass client and then log in using your CMC Microsystems Username and Password.
- When the CAD access window appears, double-click Siemens EDA Higher Education Program
A red checkmark appears next to the entry. Leave this checked while you are using the software.
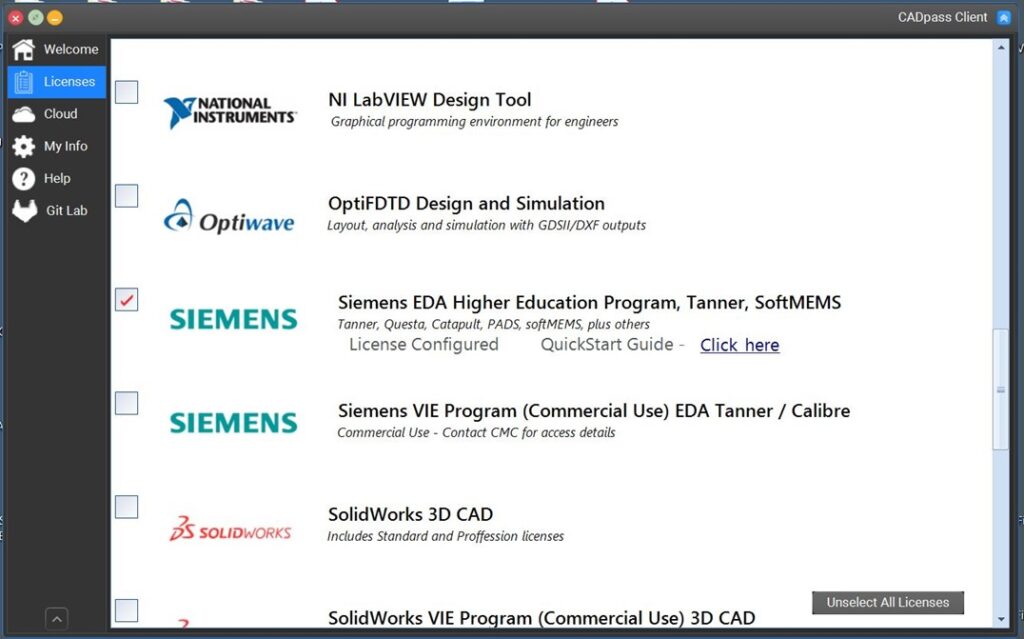
Figure 1: The Siemens Selection in CADpass client
Obtaining the Software
Download the MEMS Pro installer to a temporary location and extract the compressed file.
Installing the Software
- Launch the installer setup executable.
- In the InstallShield Wizard, click Next, as shown in Figure 2.
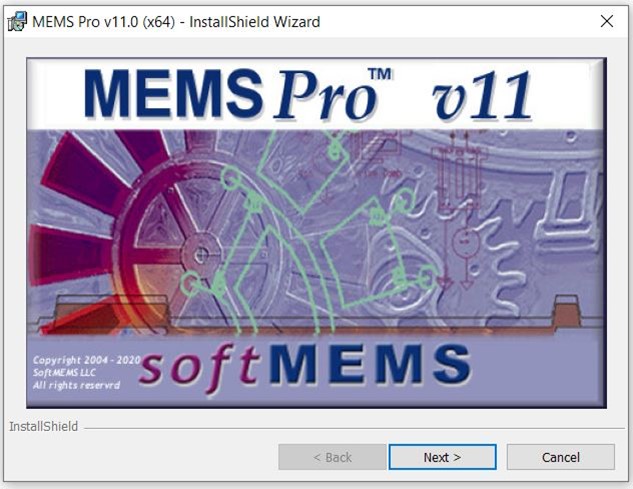
Figure 2: SoftMEMS Software Setup Initial Window
- In the Welcome to the InstallShield Wizard for MEMS Pro window, click Next.
The window License Agreement appears, as shown in Figure 3.
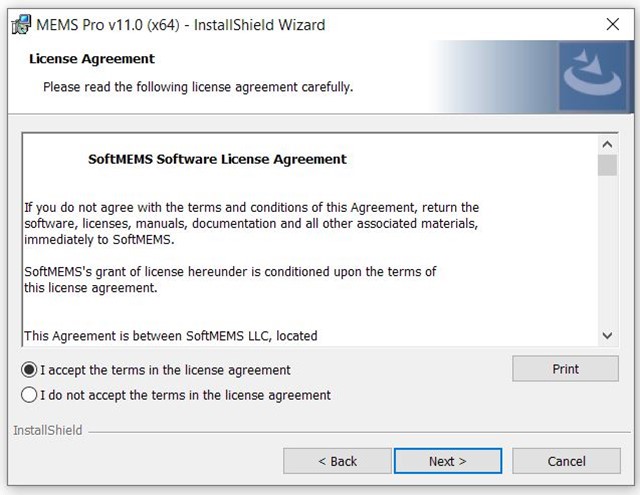
Figure 3: MEMS Pro Software License Agreement
- Read through the license agreement.
- If you do NOT agree to the terms and conditions listed, check I do not accept the terms in the license agreement to cancel the installation and close the program.
- If you agree with the terms and conditions listed, check I accept the terms in the license agreement and then click Next.
If you agreed, the window Destination Folder appears, as shown in Figure 4.
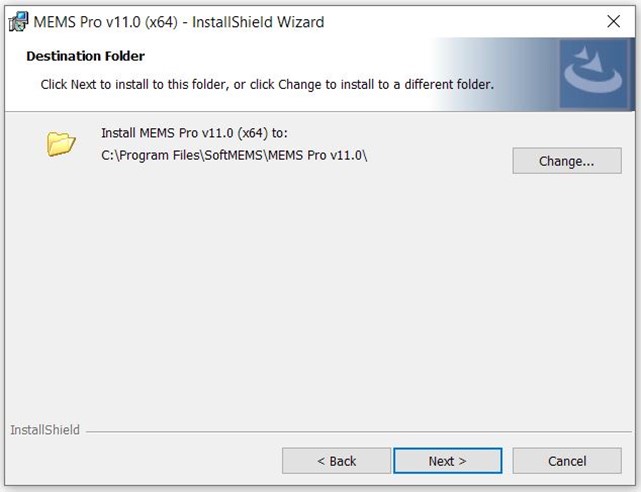
Figure 4: Locating the Destination Folder
- Browse to the location where you want to store the CAD tool files and click Next.
The window Setup Type appears, as shown in Figure 5.
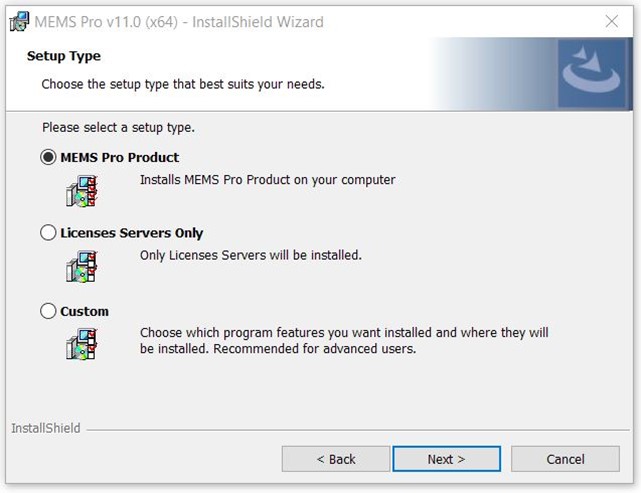
Figure 5: The Setup Type Window
- Click the MEMS Pro Product radio button and then click Next.
The window Ready to Install the Program appears, as shown in Figure 6.
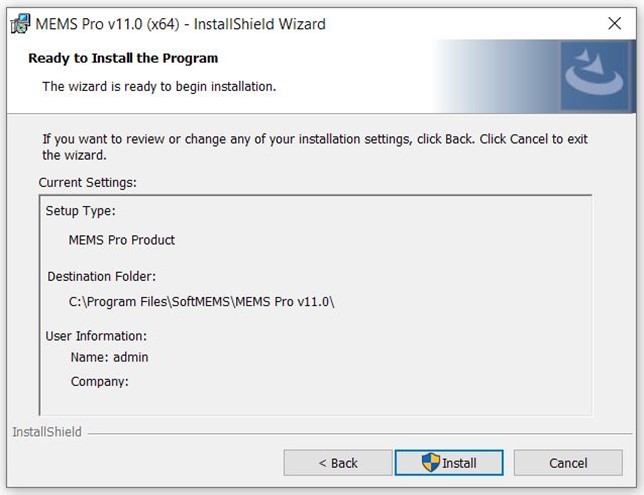
Figure 6: The Ready to Install the Program Window
- Click Install to complete the process and then Finish to close the program.
The InstallShield Wizard Completed window appears, as shown in Figure 7.
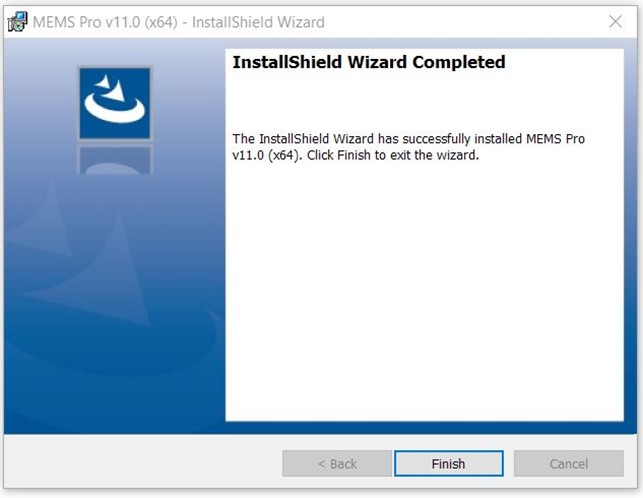
Figure 7: Installation Completed
Setting up MEMS Pro License Access
With CADpass running, and the Siemens icon displaying a red checkmark, you can now set up your MEMS Pro license variables.
To ensure proper license setup, perform the following:
- From the Start Menu, select Start | Programs | MEMS Pro | Licenses Setup.
- In the SoftMEMS – Licenses Installer window, select Floating Setup and in the field Floating Licenses Configuration field, click the radio button Client Installation.
- For SoftMEMS Server settings:
- Select Append.
- Enter Server Name: a2.cmc.ca and Port: 6605.
- For Siemens Server settings:
- Select Append.
- Enter Server Name: a2.cmc.ca and Port: 6056.
Note: Always check CADpass Licensing Information for the latest Server Name and Port Number.
- To confirm these changes, click the bar Set Licenses and close the window.
To verify the license settings:
- From the Start Menu, select Start | Programs | MEMS Pro | MEMS L-Edit.
You should see the tool start, as shown in Figure 8.
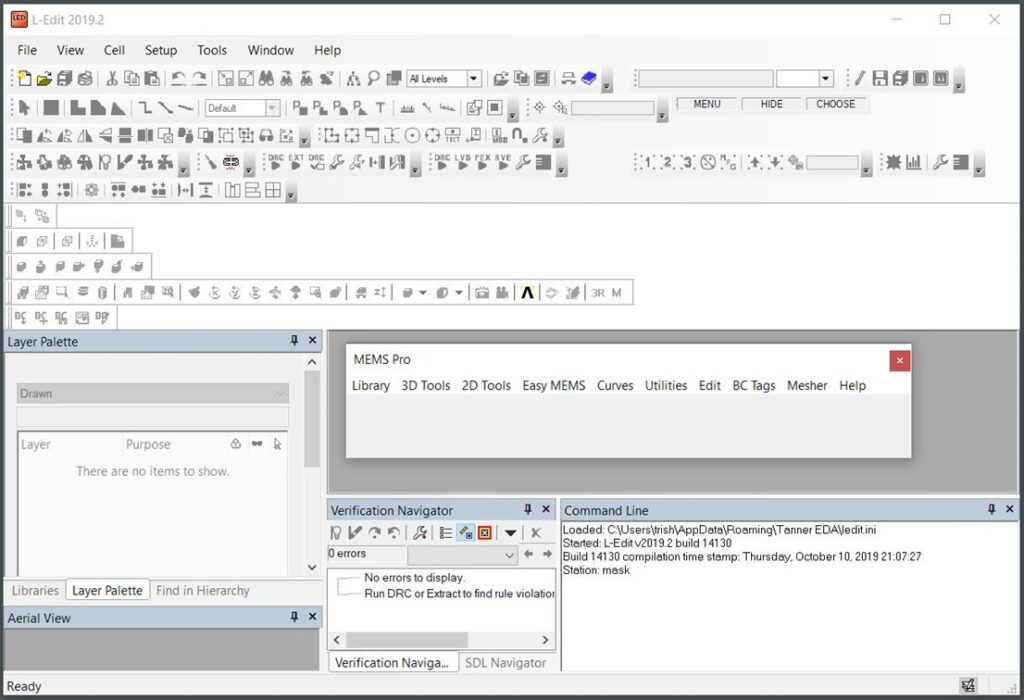
Figure 8: The Main GUI Window of MEMS Pro L-Edit
Troubleshooting
Sometimes our subscribers have problems with local firewalls or anti-virus software blocking our CADpass client. If you believe you have followed these instructions properly, yet are not able to run this CAD tool, open a support case with CMC Microsystems – Support.
Helpful Resources
- User Manual: Provides full descriptions of commands and tool bars of the CAD tool. To access it, from the MEMS Pro GUI, select Help | Help and Manuals.
- Setup Examples: Accessed from the Help menu:
- Under the Help menu, select Setup Examples.
The dialogue Tanner EDA Tools Examples appears, as shown in Figure 9. - Click Setup.
You can now open the tutorial folder and browse through the projects.
- Under the Help menu, select Setup Examples.
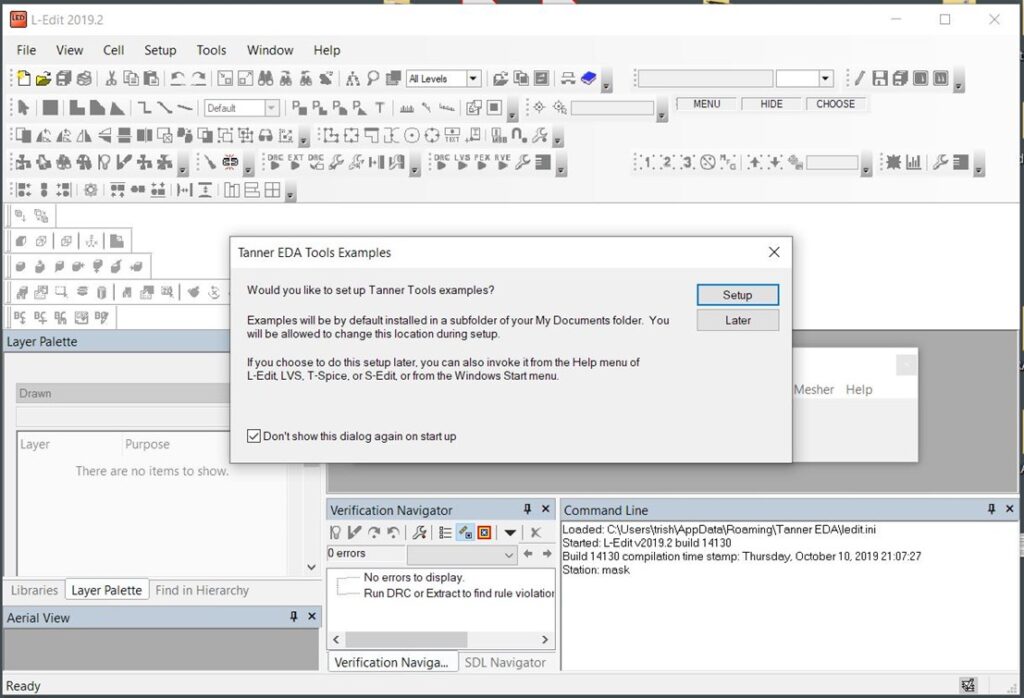
Figure 9: Setting up MEMS Pro Examples from the L-Edit Module