CADpass client secure connection (will be referred to as CADpass client or CADpass in this document) is a utility provided by CMC Microsystems that creates a secure connection between client PC’s, workstations, and computer sessions, and the CMC managed infrastructure.
This quick start guide provides instructions for downloading, installing, and setting up CoventorMP using CMC Microsystems’ CADpass to access shared licenses on the CMC License Management System (LMS).
Prerequisites
You must meet the following criteria before installing CoventorMP:
- Students must register with CMC at https://account.cmc.ca/MyAccount/MyAccount.aspx
- Faculty supervisors can subscribe through the CMC subscription page at https://www.cmc.ca/subscriptions/
- You must have administrator rights for the computer on which you are installing this software
- You must have a unique login name (LINUX or Windows) that does not contain a blank space. The following are examples of unacceptable login names: admin or administrator, root, super, sysadmin, user, owner, student, guest, temp, and system
System Requirements
The following link provides recommendations from the technical staff at Coventor for making the best use of its software, including operating system, hardware, and software inter-operability with MATLAB/SimuLink and Cadence modules.
Note: You must have Administrator privileges for your account to install this software on your workstation.
Setting up CADpass client for Use with Coventor’s CoventorMP
CADpass client is a CMC Microsystems’ license access client and is used by subscribers across Canada to connect to our secure license server(s).
- Follow the instructions in the quick start guide to download and install CADpass client.
- Start CADpass client and then log in using your CMC Microsystems Username and Password.
- When the CAD access window appears, double-click Coventor.
A red checkmark appears next to the entry, as shown in Figure 1. Leave this checked while you are using the software.
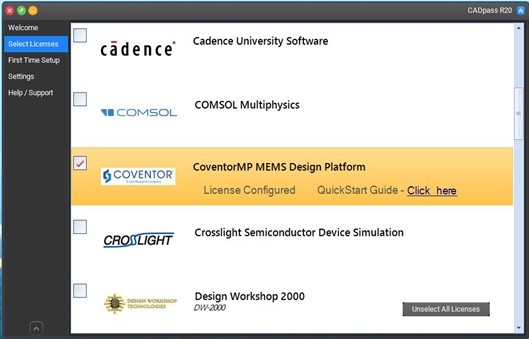
Figure 1: The Coventor Selection in CADpass client
Obtaining the Software
To obtain the latest CoventorMP software from Coventor:
- If you do not have a Coventor account:
- Request the CoventorMP software by sending an e-mail with your name, email address, and position/title to licensing@cmc.ca; or
- Go to Customer Portal | Coventor and request an account.
- When you have a Coventor account:
- Download the software and the installation guide from the Coventor Inc. web site at Customer Portal | Coventor.
Installing the Software
To install the software:
- Browse to the directory containing the downloaded software.
- Run the installation file CoventorMP___setup.exe.
- Follow the installation instructions as outlined in the CoventorMP installation guide.
- Run the CoventorWare component of the software.
A pop-up window appears indicating that you have started the software successfully, as shown in Figure 2.
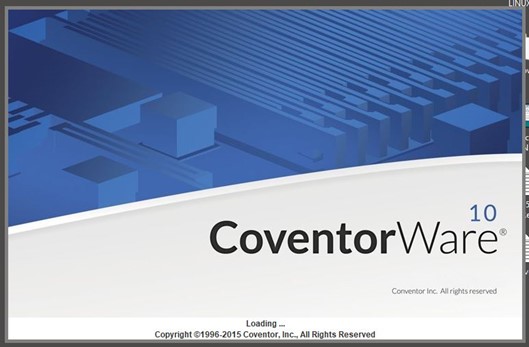
Figure 2: Coventor Software is Started Successfully
If this is the first time that you have run the software, the dialog User Settings is displayed, as shown in Figure 3.
This message should not appear the next time that you run the program.
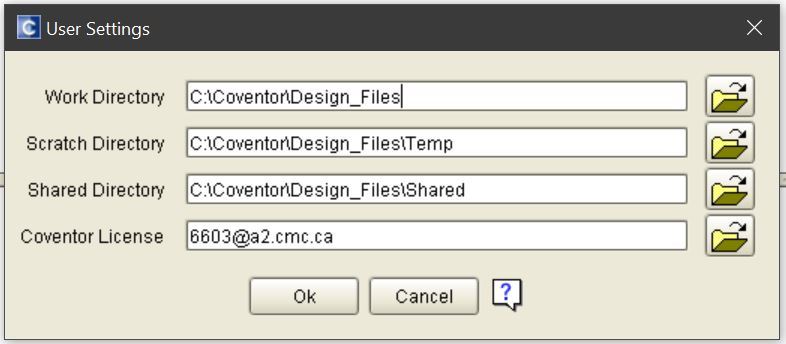
Figure 3: Coventor User Settings
- Click Ok.
- To ensure that both tools have installed properly, run the MEMS+ part: Start Menu | CoventorMP*.* | MEMS+*.*.
The software opens, as shown in Figure 4.
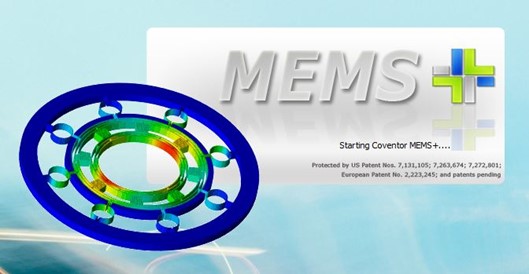
Figure 4: The MEMS+ Software Installed by the CoventorMP Installation Executable
The main window of the software is shown in Figure 5.
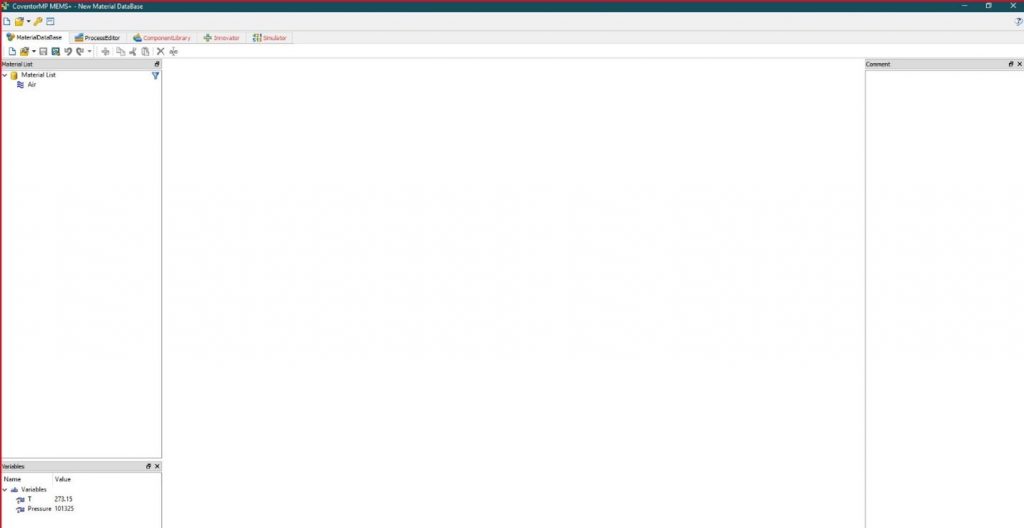
Figure 5: MEMS+ Software Main Window
Access to Coventor Using CMC cloud
CMC also provides CoventorMP on its cloud platform. Therefore, to access the CoventorMP on cloud platform follow the steps given in Quick Start Guide for cloud design environment.
Creating and Connecting to an Instance
- Once you have access to CMC cloud click on Create My Instance. You will see a list of images, create Coventor instance using Coventor 1.3 – CentOS 7 image as shown in Figure 6. A window will pop up, mention date and time for instance then click create instance.
![]()
Figure 6. Coventor Cloud Image
- Click connect and then connect to your instance using NoMachine or Terminal as shown in Figure 7.
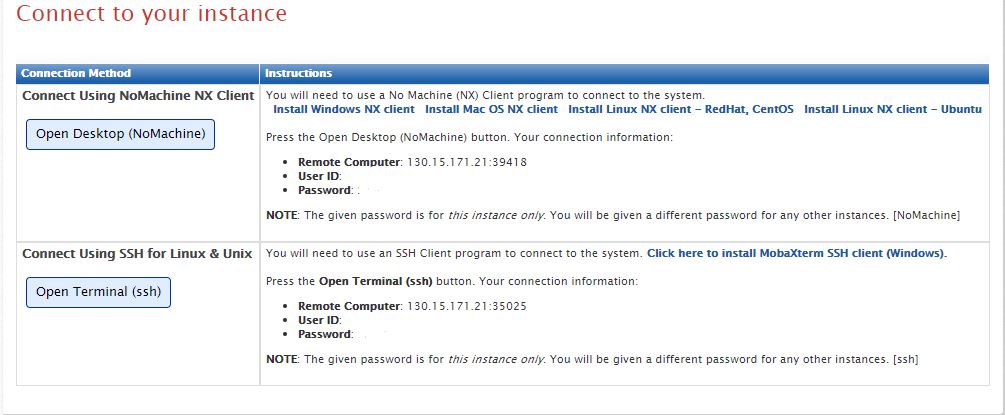
Figure 7. Connecting to your Instance
- If you are connected to your instance through NoMachine then It does not have a CAD Launcher. To run a CAD tool, open the terminal as shown in Figure 8. and use the following commands.
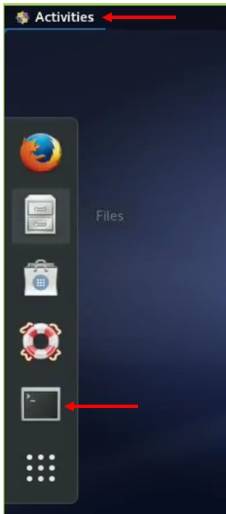
Figure 8. Coventor CentOS 7 Instance
$ source /CMC/scripts/coventorMP1.3.csh
$ MEMSp (always first launch the MEMS+ as it will set the variables) and then launch Coventor using following command.
$ coventorware
$ LayoutEditor1.0 (command for launching Layout editor) snip
For questions about these steps, or if you are struggling with any part of these instructions, you are invited to open a support case with CMC Microsystems.
Additional Help and Resources
Coventor includes several tutorials in PDF format with each download. Go to Start Menu | CoventorMP*.* | CoventorMP*.* Documentation. It is recommended that you use Adobe Acrobat Reader for viewing these files.
Other help supplied by Coventor includes:
- Blog: https://www.coventor.com/blog/
- MEMS Solutions papers: https://www.coventor.com/mems-solutions/
- Video channel: https://www.youtube.com/user/CoventorEngineering